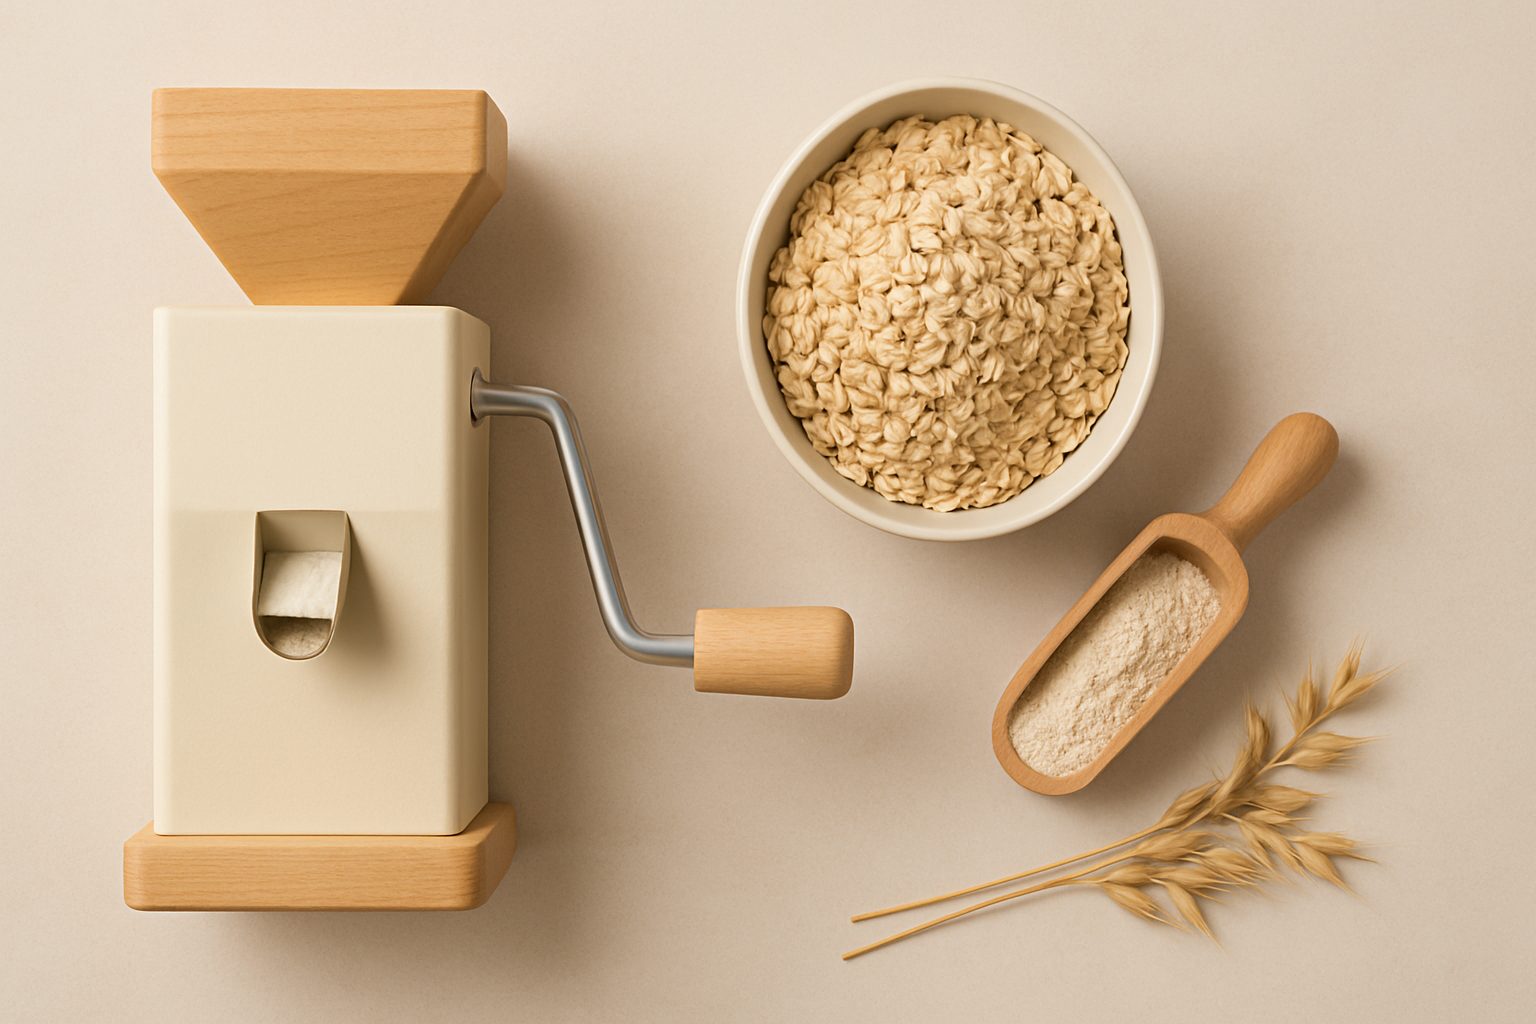
How to Clean and Maintain Your Home Grain Roller: UK Owner's Guide
A home grain roller is a worthwhile investment for anyone milling flour, cracking grains, or preparing livestock feed regularly. Like most machinery, it performs best—and lasts longest—when you keep it clean and maintain it properly. This guide covers the practical steps to keep yours in good working order.
Why Regular Cleaning Matters
Grain dust accumulates quickly inside a roller. Left untouched, it attracts moisture, clumps, and can eventually jam the rollers or damage the bearings. A quick clean after each use prevents this buildup and keeps the gap adjustment accurate—which directly affects your flour quality and the load on the motor.
Most UK grain roller owners find that 15 minutes of maintenance after milling saves hours of troubleshooting later. It's also far cheaper than replacing corroded parts or a burned-out motor.
Basic Cleaning: After Every Use
Unplug and cool down first. Always disconnect the machine from the mains before touching any internal parts. If you've just finished milling, let the rollers cool for 5–10 minutes.
Brush out loose grain. Use a stiff brush to sweep grain dust from the hopper, chute, and around the roller gap. A paint brush or old toothbrush works for tight corners. Pay special attention to where the rollers meet the frame—dust settles there.
Wipe the rollers carefully. With a dry cloth, gently wipe the surface of each roller. Don't force anything into the gap; you're just removing surface dust. If a grain is stuck, leave it—trying to dislodge it risks damaging the roller surface.
Check the collection area. Empty the flour or cracked grain outlet and wipe any residue. This prevents old flour from hardening and blocking the next batch.
Weekly Deep Clean
If you're milling several times a week, set aside 20 minutes for a more thorough clean once weekly.
Brush the motor housing. Grain dust settles on the motor casing and can trap heat. Use a soft brush around the outside, never spraying water directly on the motor. A damp cloth for the exterior casing is fine.
Clean the hopper and chute. Remove any caked grain from the sides of the hopper and the feed chute. A plastic scraper or old credit card works well; avoid metal tools that might scratch the surfaces. If grain has hardened, a slightly damp brush helps—don't soak it.
Inspect the gap. Look at the roller spacing. If the rollers seem closer together than normal, they may need re-centering. Most UK machines have simple adjustment bolts on the sides; check your manual for the correct method and don't force them.
Monthly Maintenance Checks
Once a month, spend 10 minutes on these checks:
Listen and feel. Run the empty roller for a few seconds. It should be quiet and smooth. Any grinding, squealing, or uneven sound suggests wear or damage—stop immediately and investigate.
Check for wobble. Look at the rollers while they spin (briefly, empty). They should rotate perfectly straight with no visible lateral movement. Wobbling indicates a bearing issue.
Inspect visible fasteners. Give the main bolts a gentle tug—nothing should be loose. Vibration over time works bolts free, especially on older machines.
Replacing Worn Parts
Your grain roller will eventually need replacement rollers. Pricing varies widely depending on the machine, but expect £60–200 per roller set for most home models. Amazon UK stocks compatible rollers for many popular brands, and checking part availability before you buy a roller is wise—some newer or very old machines have parts that are harder to source.
When to replace rollers:
- If they're visibly scored or pitted
- When flour quality drops despite correct gap adjustment
- If they no longer grip the grain evenly
- After 10–15 years of regular use (depending on milling frequency)
Replacement is usually straightforward: unbolt the old rollers, slide out, slide in the new ones, and re-bolt. No special tools needed for most machines.
Bearings and seals also wear out. If you notice grease leaking from the sides or hear a grinding sound, have the bearings inspected. These are typically cheaper to replace than rollers and take 30–45 minutes.
Seasonal Care
Before winter. If your grain roller lives in an unheated space, run it briefly every few weeks to keep the internal mechanisms from seizing. Store it somewhere dry; moisture is the enemy of bearings and gears.
After summer. If you milled heavily through summer, do a thorough inspection. Clean out any dust that's settled over months of use. Check all moving parts for free movement.
Long-Term Storage
If you're not milling for several weeks:
- Clean the machine thoroughly
- Leave the hoppers open or remove them to allow air circulation
- Store in a dry place (shed or garage is ideal)
- Don't wrap it in plastic—this traps moisture
When to Get Professional Help
Most maintenance is straightforward, but consider professional service if:
- The motor won't start or keeps stopping
- You hear a loud grinding or clunking noise
- The rollers won't stay in adjustment
- Grain leaks unexpectedly during milling
- You've never serviced it and it's over 10 years old
A local agricultural engineer or machinery repair specialist can diagnose problems quickly, usually for £40–80 in call-out fees.
The Bottom Line
Regular cleaning and monthly checks take minimal time and keep your grain roller reliable. Most failures come from neglect rather than wear—a quick brush after milling and an annual deep inspection will add years to your machine's life. Parts are affordable when you need them, especially if you know you'll replace rather than repair, but good maintenance means you'll replace them far less often.
More options
- Electric Home Grain Flaker / Roller (Amazon UK)
- Manual Grain Roller for Home Use (Amazon UK)
- KitchenAid / Stand Mixer Grain Roller Attachment (Amazon UK)
- Eschenfelder Grain Flaker (Amazon UK)
- Whole Grain Oats & Wheat Berries (consumable upsell) (Amazon UK)